How To Make Mini Clay Roses

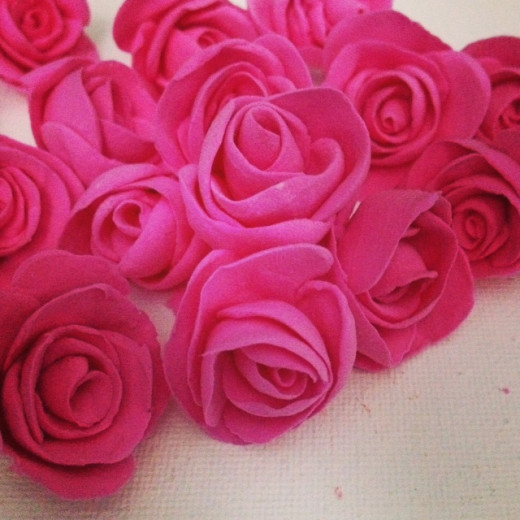
Creating mini clay roses is not only one of the easiest DIY's, it is also a universal craft that can be used in various projects. At the end of this article there will be links to a few projects you can use with these roses.
What you need
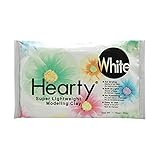
Air Dry Lightweight Paper Clay- I like Hearty, Deco Clay Craft or Martha Stewart.
When buying clay I advise that you buy a large amount of white clay compared to color clay. In this DIY I used white clay and a red clay.
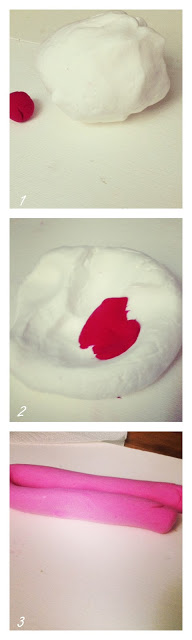
Mixing Clay
- You only need a small amount of the color clay to mix with the white clay to achieve a vibrant colored Clay. See pic 1 for an example
- Mold clay with hands until the color is even. I recommend rolling it out in cylinder shape (see pic 3).
Note: The clay dries fast, so do not leave out exposed to air. Seal any unused clay as instructed by the manufacture. I tend to have some zip lock bag on hand to place unused clay in it packaging.
Also the cylinder of clay should be covered loosely with a damp paper towel (not wet). Wet paper towels will stick to the clay, and will ruin the consistency of the clay. If clay becomes a bit dry use a spray bottle with water to moisten the clay.
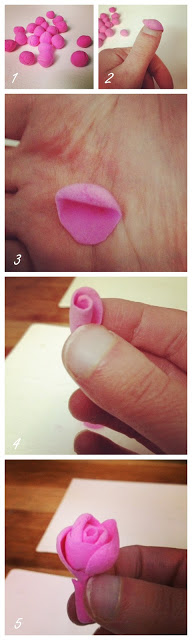
How to make a rose
- Pinch off tiny pearl size pieces until you have many balls of clay. (pic 1)
- Take each ball and and smooth it out in the palm of you hand with your thumb. Use the natural curve of your hand to mold the clay so it will imitate the curve of a flower petal, also the hand prints add a natural petal texture (pic 2&3)
- After you make about 6-10 petals start assembling the rose.
- Roll one petal to make the center of the rose and continue to add petals overlapping each petal like a real flower work the petals with the tips of your fingers to make the petals more realistic. (pic 4&5)
- Let the flowers dry for at least 14-24 hours before using in a project


